
How to set a novel up: scene length, models, cover
The “Novel settings” section applies only to the novel you have open: how long the scenes should be, which AI model is responsible for what, what cover the novel has. Do not confuse it with the “Settings” gear in the header: that is the general menu of the workbench.
-
At the very bottom of the novel sections, click “Novel settings”.
-
In the “Scene length” block, set the scene length you want — from and to, in thousands of characters. This range goes into the request for every scene.
-
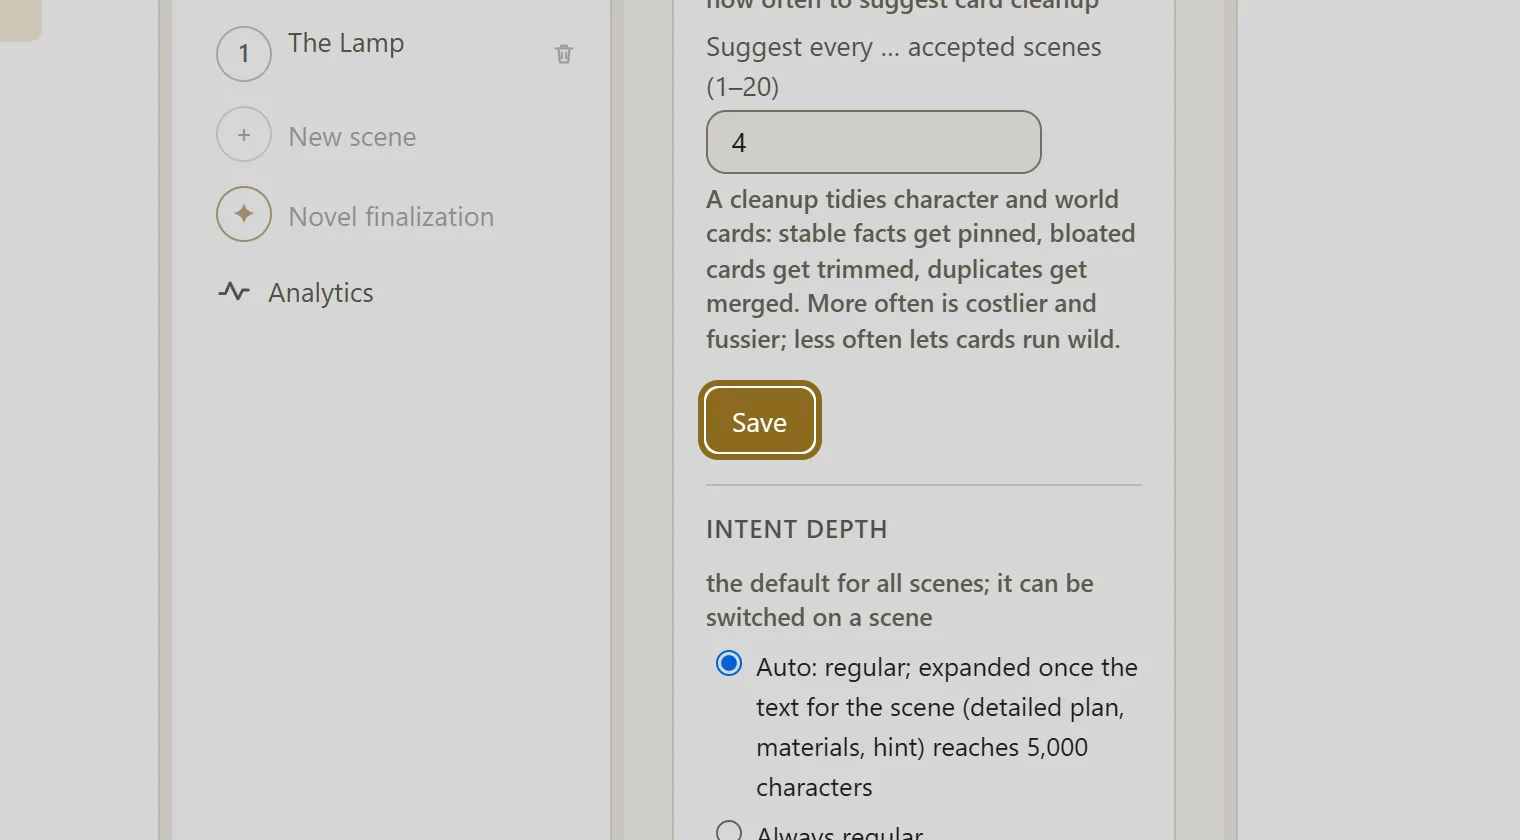
Click Save. The button is only needed for the number fields; everything below it is saved the moment you choose.
-
In the “AI models” block, choose who does what. “Prose model” writes the scene prose, “Service model” handles the intent, the brief, the recap and the checks. The lists show only the models of the AI you have connected.
-
The “Intent depth” block decides how thoroughly the intent is worked out before a scene. A regular intent gives the prose freedom — it is better when the scene is only roughly thought out. An expanded one keeps your findings when the scene is thought through in depth.
-
In the “Cover” block, choose the cover: a portrait of the main character, a picture from the novel’s gallery, or your own. Illustration settings live apart — in the “Novel illustrations” section.