
Picture defects: find and fix them all at once
An extra arm, a bed shorter than the person, an empty hall instead of a crowd — defects are easier to collect in one pass and fix in a single task. A mark spoils nothing: until you approve a fix, the old picture stays in the book, and when the book is put together, marked pictures are left out by default.
-
In the “Illustrations” section, click Review the novel — the book frames open one after another, by scene and paragraph. To review a single scene, use the Review the scene button in the scene’s picture column. The picture is fine — press the → arrow; viewed pictures are counted.
-
Spotted a defect — click its type in the “Defect:” row or press a key 1–5: Anatomy, Number of people, Body and object, Size and shape of a thing, Other. There is nothing to save; a second click removes the type. The Note button says briefly what is wrong; it is especially useful with “Other”. You can mark any picture of the novel, even while the automation is running.
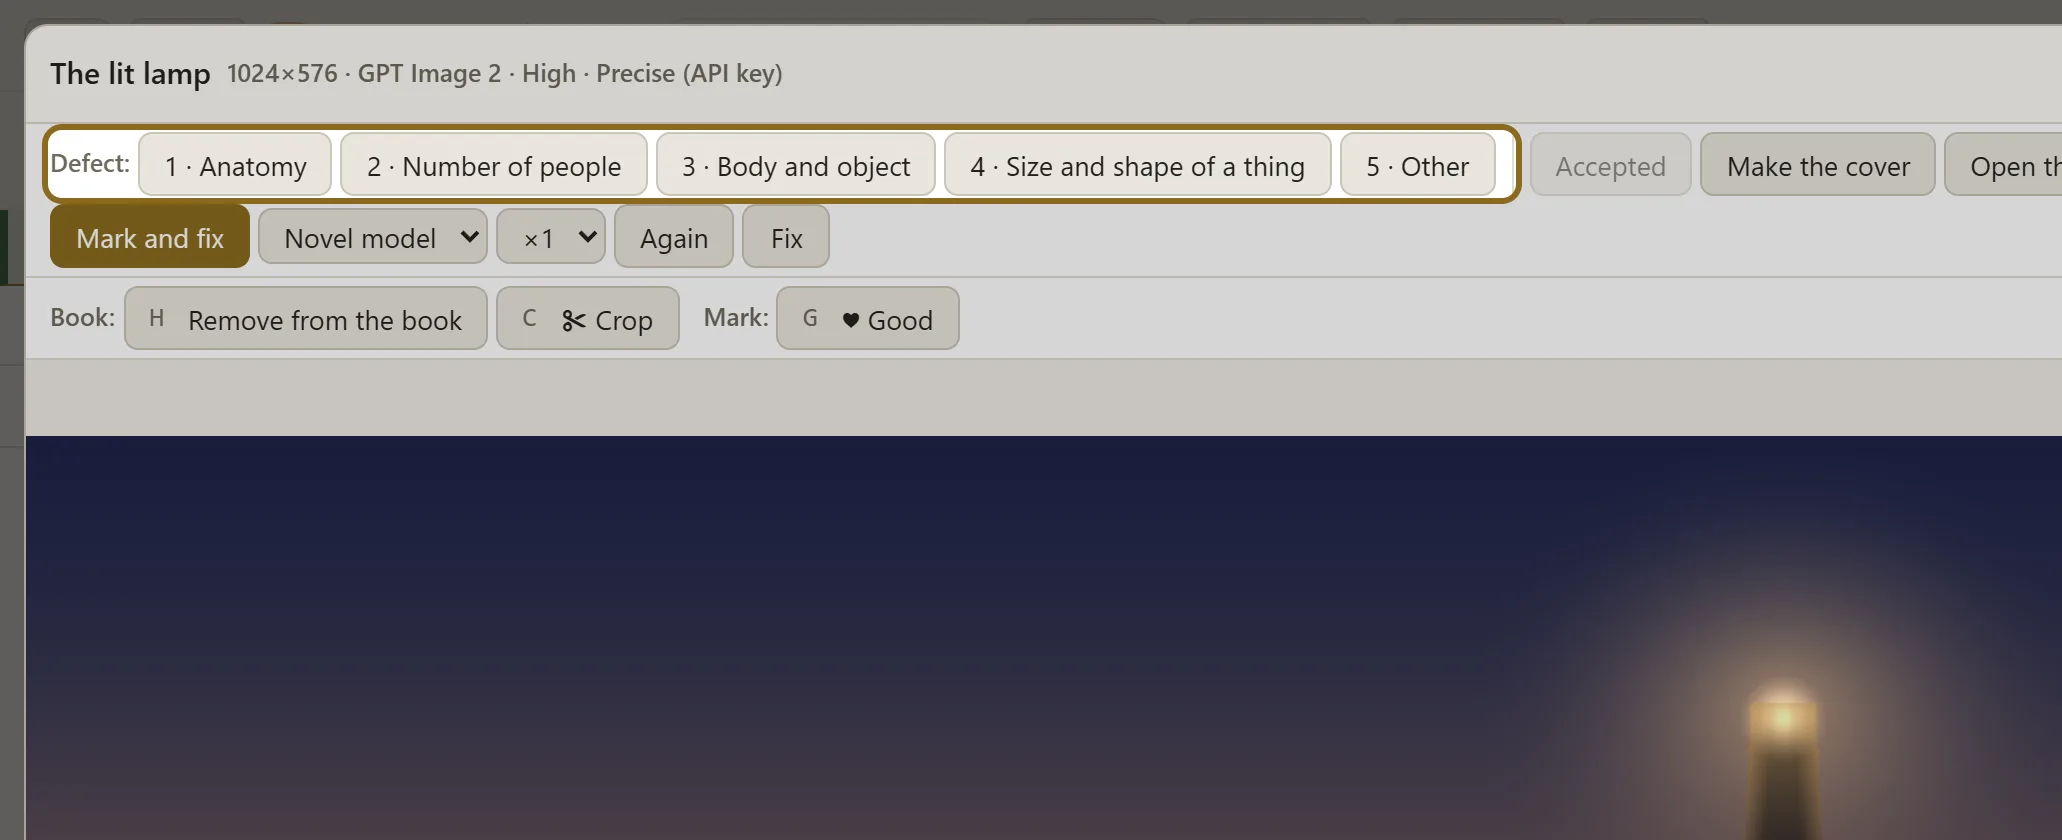
-
The defects bar above the section’s steps counts what you have marked: in total, by type and how many of them are key shots. Thumbnails of marked pictures carry a red “defect” tag. The button in the bar that shows the defects opens the marked pictures one after another — to recheck them or remove a mark you do not need.
-
Click Fix defects in the bar — the number of marked pictures stands next to its name; a similar button above a scene’s frames fixes that scene only. In the window, choose a number in the “Variants per picture” row and click Fix. The repair director (an AI) looks at each picture, finds the cause and redraws it — about 2–3 minutes per picture. You follow the progress in the bar: Journal shows every picture, Stop stops the fix. If the novel is being illustrated, instead of the launch you get Fix when it finishes — the fix then starts by itself.
-
When the fixes are ready, a check button appears in the bar — it opens “Checking the fixes”. On the left is “Before”, on the right “After”, and beneath them what was changed and why. Decide with a single key: Looks good (Enter) — the new picture goes into the book; Keep the old one (Backspace) — the old one stays and the mark is removed; Decide later (→) — on to the next pair. If two variants were drawn, pick A or B first.
-
The defect is still there — click its type in the “Still defective:” row (keys 1–5), add a note if you like and click To the next round. Then click Fix defects in the bar again: the director takes both failures into account. If several rounds do not help, simplify the frame or fix just the problem spot with Mark and fix in the picture viewer.