
How to fix a picture
An extra finger, the wrong colour of a cloak, the character looking the wrong way — a picture does not have to be taken as it is. Show the assistant what is wrong: it makes a diagnosis, and the picture is redrawn as a whole. The original stays, the new variant appears beside it. If there are many defects, it is easier to mark them with the “Defect:” row and fix everything in one go: the article “Picture defects: find and fix them all at once” explains how.
-
Click a picture — the viewer opens. Pictures drawn in the product can be fixed; the ones you uploaded yourself have no fix button.
-
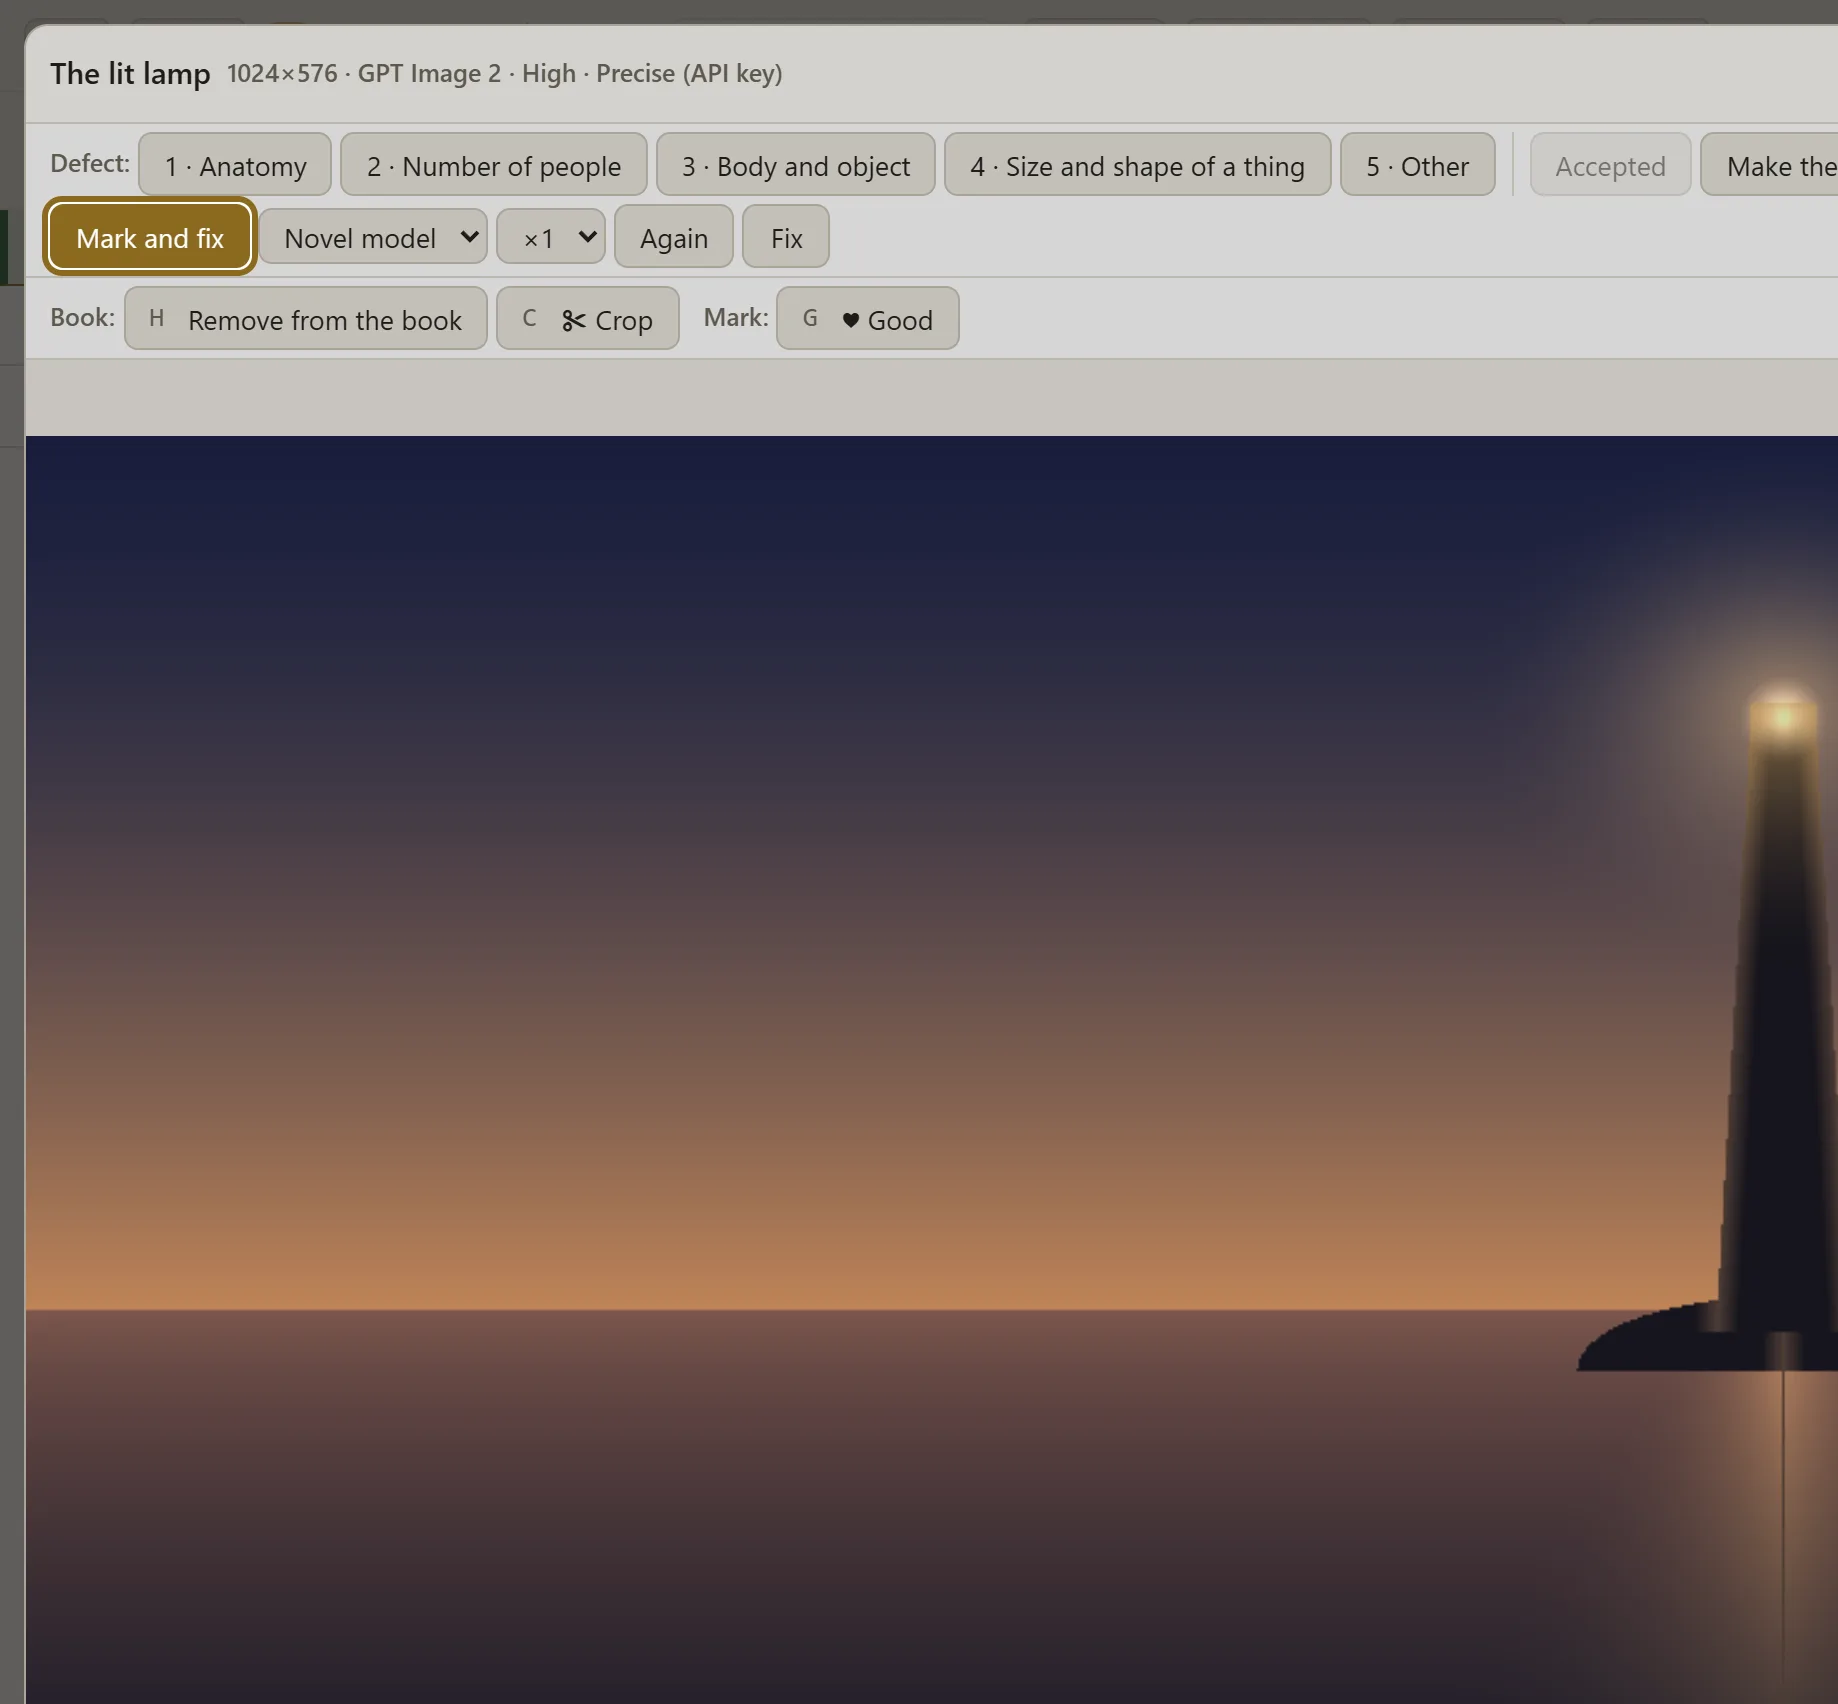
Click Mark and fix and circle the problem place right on the picture: with an oval, a frame, an arrow or the brush. There can be several marks.
-
You can write a note on a mark — “six fingers”, for instance. It is not compulsory: without a note the assistant works out what is wrong by itself. Click Fix — the redraw takes about a minute or two.
-
A comparison opens: drag the divider, the original picture is on the left, the new variant on the right. Beside it you read which defect was found and what was changed.
-
Decide: Approve this one — this variant goes into the book; Fix again — one more attempt from the original picture. Until you approve something, the book does not change. All variants stay in the strip under the picture: clicking a thumbnail only shows it, and you can return to any variant and approve it. Remove what you do not need with the “✕” on a thumbnail or with Remove the unchosen.
-
There is no defect, you simply want a different variant — click Again in the viewer. Next to it you choose how many variants to draw at a time.