
How to illustrate the novel: from the canon to the frames
The “Illustrations” section runs from the top down: first the traits and the descriptions of the characters and the places, then the frames of the scenes. The preparation is done once per novel — thanks to it a character stays recognisable from picture to picture. Every lock names its reason and has a button that lifts it.
-
In the novel sections, open “Illustrations”. The section itself shows the first step that is not closed, and the “What’s next” block at the top tells you the move to make.
-
The novel is not finished yet — click Start illustrating before the novel is finished. The button starts nothing, it only allows work on scenes before the finish.
-
The “Traits registry of characters and places” step: click Compose from the canon. The assistant writes out from the canon the traits by which characters and places will be recognised in pictures. Look the list over and approve it.
-
The “Descriptions of characters and places” and “References of characters and places” steps: each has a button that builds all the cards at once. A description is the appearance put into words; a reference is a portrait or a view of a place, and every frame is checked against it afterwards.
-
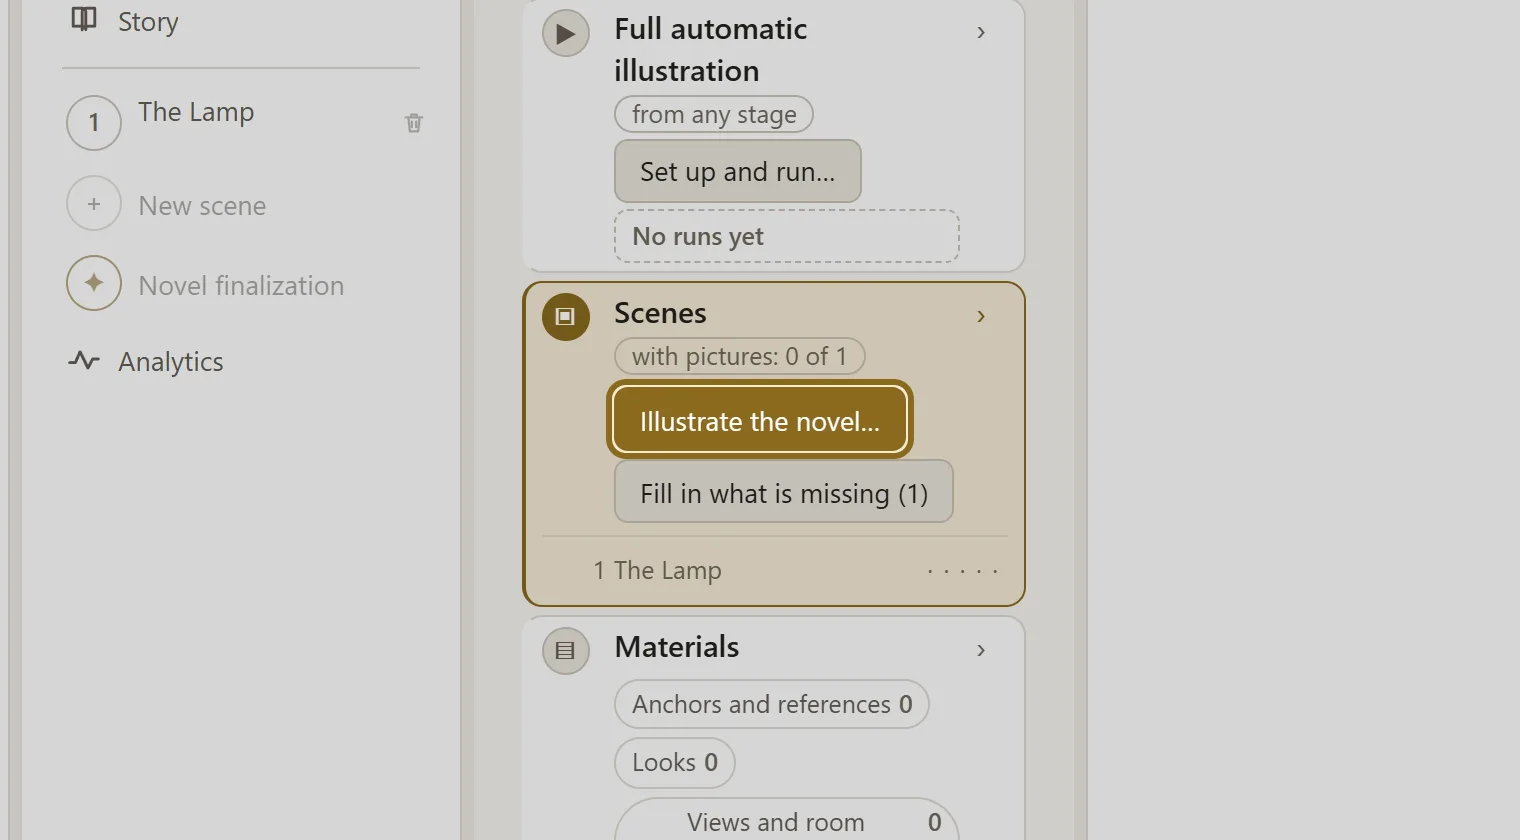
Click Illustrate the novel…. The launch map opens: what is ready already and what the automation will take on. The button itself draws nothing yet — the work starts after Run the full automation. The automation takes accepted scenes only.
-
The run is long and goes on its own: you can close the tab, the pictures appear as it goes. If you would rather lead one scene by hand, click Console → next to it in the “Scenes” block.